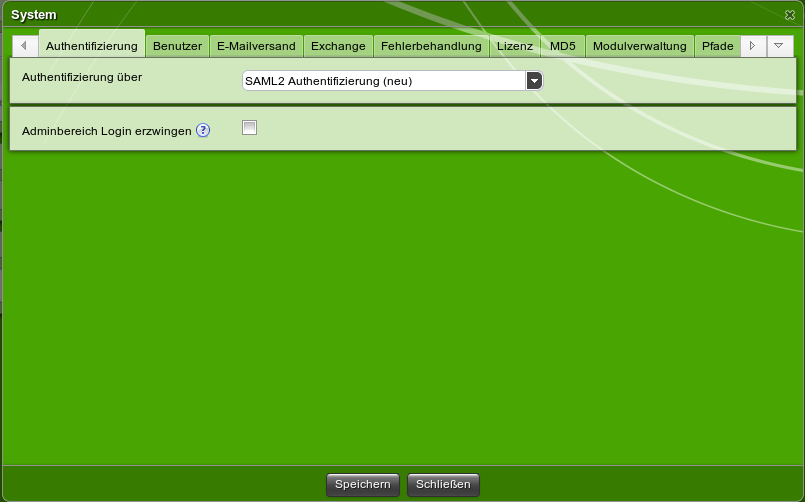
Das CMS wird als Service Provider verwendet. Das bedeutet es wird nur überprüft ob der User angemeldet ist und ggf. weiter auf die Loginseite geleitet.
Im CMS muss der Benutzer saml2 angelegt werden. Am besten ist es einen Benutzer zu kopieren, der die benötigten Berechtigungen hat.
Config einrichten
In var/conf/saml2/config liegen die Config-Dateien. In der authsources.php wird der IdP angegeben, in der config.php wir die Basis Konfiguration für das Verhalten von Saml2 eingestellt.
Config.php
- baseurlpath => /bin/saml2/
- baseUrl nur setzten wenn ein load balancer oder Proxy verwendet wird
- timezone => Europe/Berlin
- secretsalt sollte neu erstellt werden
- auth.adminpassword ändern
authsources.php
Hier wird eingestellt wo der IdP ist und wie die dazugehörige Domain ist. das array sollte so aussehen.
$config = array(

// This is a authentication source which handles admin authentication.
'admin' => array(
// The default is to use core:AdminPassword, but it can be replaced with
      // any authentication source.

'core:AdminPassword',
),
// An authentication source which can authenticate against both SAML 2.0
   // and Shibboleth 1.3 IdPs.
'default-sp' => array(
'saml:SP',

// The entity ID of this SP.
      // Can be NULL/unset, in which case an entity ID is generated based on the metadata URL.
'entityID' => null,

// The entity ID of the IdP this should SP should contact.
      // Can be NULL/unset, in which case the user will be shown a list of available IdPs.
'idp' => null,

// The URL to the discovery service.
      // Can be NULL/unset, in which case a builtin discovery service will be used.
'discoURL' => null,
),
'saml-sp' => array(
'saml:SP',
'entityID' => 'http://app.example.com',
'idp' => 'http://localhost:9080/simplesaml/saml2/idp/metadata.php',
),
);
CMS Einstellungen
Im CMS auf Extras => System => Authentifizierung gehen und SAML2 auswählen.
